Showing posts with label crafts. Show all posts

Saturday, December 13, 2014

Disney Tree, Oh Disney Tree

By Lisa Green

If you’ve been by here for a visit lately, you’ll have noticed that I’ve been sharing all my tutorials on how to make Disney Christmas decorations.


The ornaments are all hanging on my Christmas tree, so I thought I’d share a few tips on how I put the whole Disney theme together. I started with a pre-lit 9-foot tree purchased several years ago – say it with me now- for 50% off at my favorite craft store! Before the ornaments go on, I want the tree to feel Disney-ish, so I start with what I consider foundation or background for the ornaments. I don’t have an official Disney tree-topper (gasp!) so I tried to make the top of the tree represent the “Wishes” fireworks from the Magic Kingdom since Wishes is one of my most favorite things in the world. I used several large Christmas floral sprays in sparkly red and green, adding a couple to the center that had circles that would (hopefully) form Hidden Mickeys when viewed from Copy-of-General-Dis-Pics-11.13-061.jpgdifferent angles. Then, starting at the top, I added yellow/gold deco-mesh – I dislike (hate/loathe-take your pick) deco-mesh and it seems the feeling is mutual. I put it on the entire tree three different times this year and I still think the final look leaves a bit to be desired. Suggestions are welcome. Then on went green and red poinsettias, holly, green and red sparkly floral sprays, and black sparkly dangly-ropey-things (what would you call them?). 
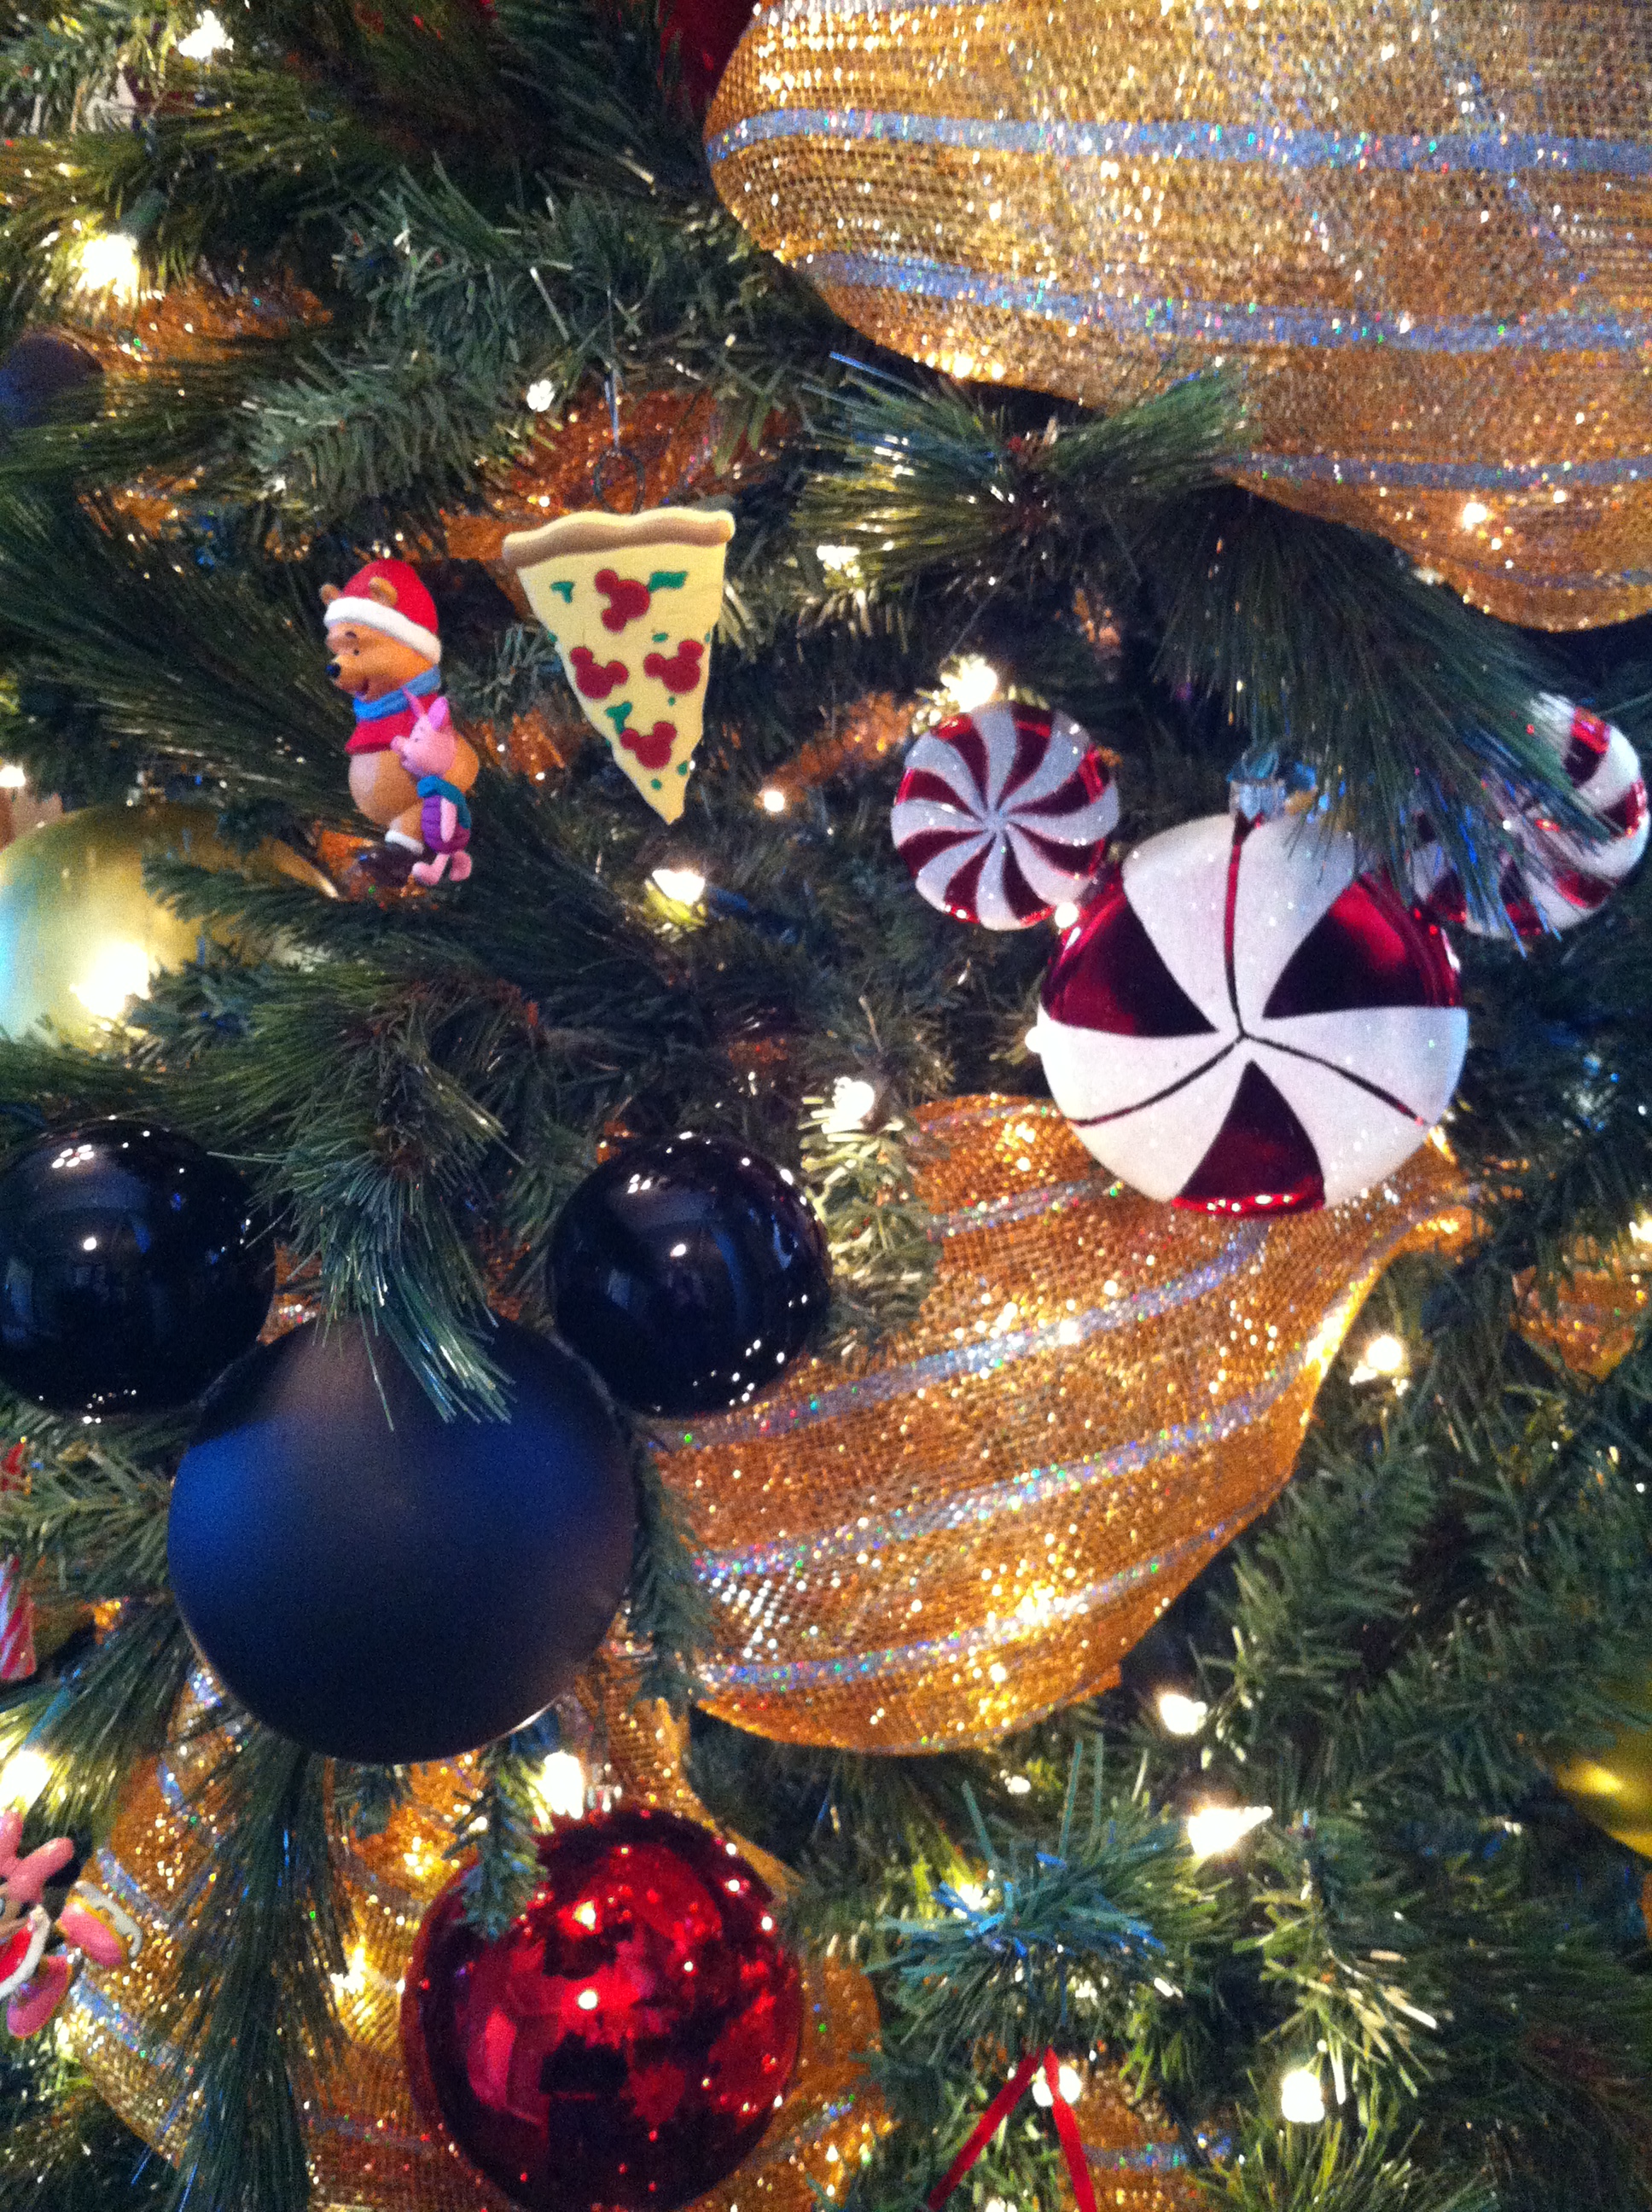


Foundation in place, I was ready for the ornaments. Even before the official (and unofficial) Copy-of-General-Dis-Pics-11.13-061.jpgDisney ornaments went on, I first added large, plain ornaments in Disney colors, tucked back into the tree – so they would fill up the background while keeping the outer branches available for the best ornaments.


Then, finally ready for the Disney ornaments, I used the smallest ones at the top and worked my way down – largest mostly on the bottom. Okay – I’ll admit it – I talked Raymond into putting the little ornaments at the top for me. He’s way taller and it kept me from repeating the terrible ladder accident I had last spring. That’s it.  Tah-Dahhhhh.


I’ve surfed the net looking for other Disney trees out there. I know some of you have them, so please PLEASE share your tree pics with me and any DIY Disney decorations you’ve made. I would love to see them and get some new ideas for next year.

Thursday, December 11, 2014

DIY Mickey Mouse Christmas Ornaments - Part 3

By Lisa Green


Here’s another DIY Disney Christmas Ornament idea for you.  Confession time:  Sometimes my creativity and my actual artistic ability are at odds.  In the case of this ornament, I had a good creative plan (says me) – the execution of which was negatively impacted by my lack of artistic ability…in other words, I…well….I pretty much suck at painting – even with pointy-ended bottles of sparkly paint.

But I bet YOU can paint well and that’s why I’m still sharing this project with you (though I was a little underwhelmed by my own results).  You can do better and the supplies are minimum.  Plus the idea is pretty neat since you can change the colors (and ornament sizes) to match your theme.  For example, if you have a Disney Princess tree you could use pink, purple, gold, pastels, etc.  That’s the fun thing about DIY projects – the flexibility!

I saw the inspiration for this ornament the last time I was at Disney World (May, 2012) and decided that it looked EASY and I’d give it a go.  HA!  Anyway, these ornaments were both fragile and not really in my budget at the time I spied them, so I took a quick picture and vowed to just crank out some gorgeous (fancy and sparkly) duplicates in the near future – that time came coincidentally as I shopped (c’mon, say it with me now) the 50% off Christmas decorations at my favorite craft store.

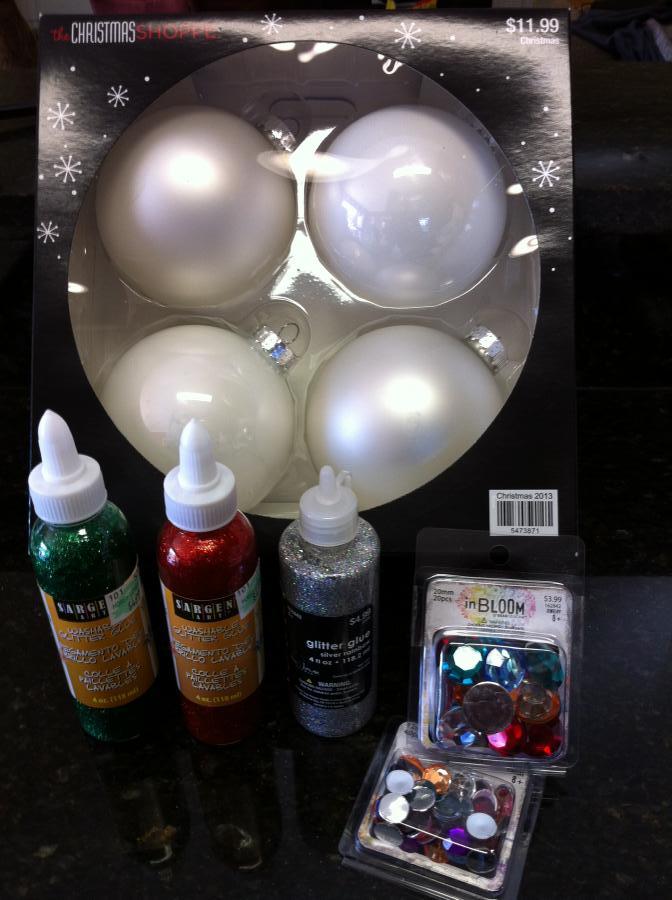
So I bought my supplies – a box of four white ornaments (two are shiny and two are matte/pearl), two sizes of bulk rhinestones, red and green glitter paint, and some silver glitter glue (for attaching the rhinestones).

General Dis Pics 11.13 014

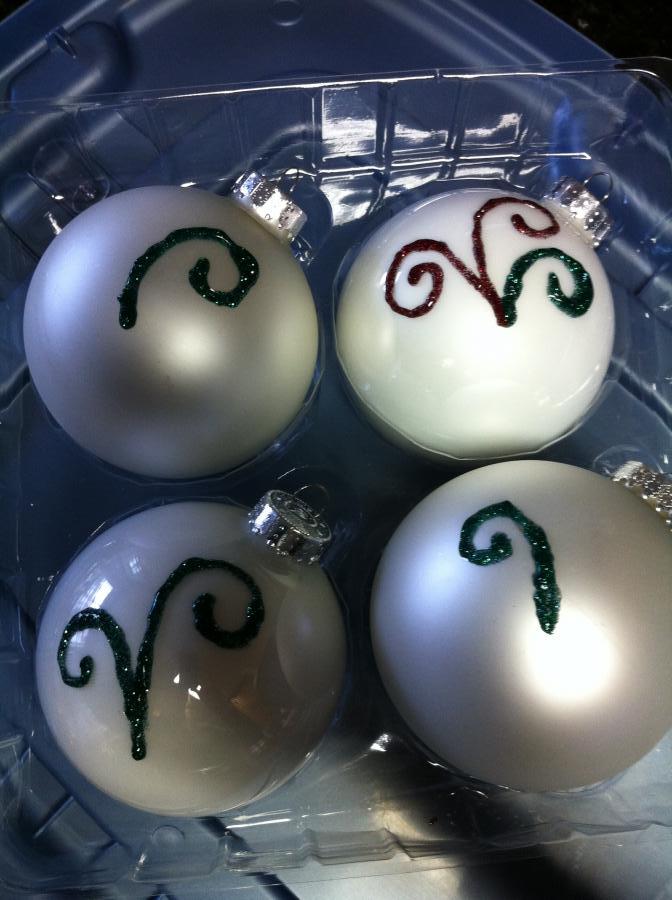
Once situated at home with all the necessities, I started painting swirly-things.  YIKES.  Harder than I thought.  I really wanted to make my ornaments look exactly like the originals, but it was just not going to happen for me.  So I stuck with VERY basic swirls and had to be satisfied with that.  Luckily, when they finally dried (oh, I was impatient and it seemed to take forever) – they looked less gloppy and uneven to me (maybe.  a little.).

IMG_2155

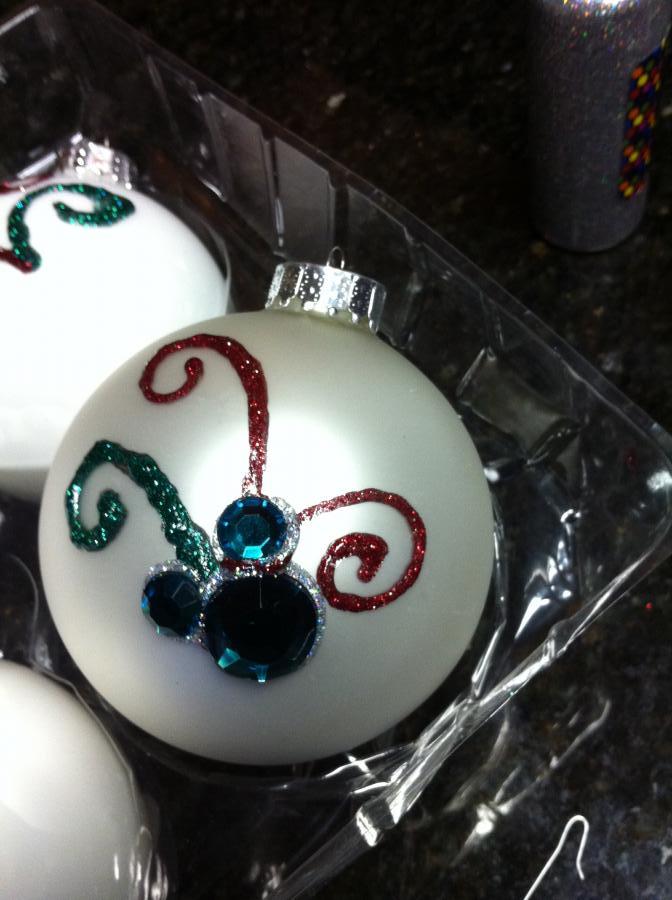
Once the swirls dried, I used the silver glitter glue (oh, has a more fun substance ever been invented?!) to attach the rhinestones in the classic Mickey head shape.  Buying multi-colored stones in a pack was not very smart – the reds and greens weren’t as plentiful as I’d hoped.  So, I got only one group per ornament.  Just as well since the whole painting thing was dicey.  In the end, I was happy enough to actually put them on the tree. The Fam (as usual) cheered me on and made me feel better about my expectations exceeding reality.  Really, they could be so cute when done by someone with actual artistic talent – that’s where you come it.  PLEASE – if you try this and end up with pretty ornaments, share a picture with me!  I’ll try not to be too jealous and I’ll post the picture right here on my Disney blog.

 IMG_2157

Good luck.  I have faith in you.  You can do it!

This article was originally posted on the Living a Disney Life Blog.

Monday, December 8, 2014

DIY Mickey Mouse Chritsmas Ornaments - Part 2

By Lisa Green


In my last post about DIY Disney ornaments, the ornaments were super easy to make and cute as can be, yes?  Let’s do it again today – make more Mickey ornaments, but this time, we’ll go “intermediate” level – I think you’re ready!

While shopping at my favorite craft store (again, yes, I like it there and yes, Christmas decorations were still 50% off) – I spotted these babies and thought – hey!  With a little help from Raymond and his manly tool-wielding-ways, I can really make some fancy new ornaments.  As luck would have it, Raymond was with me.  So, I shot him a look (no words required) and he held out his hands to carry the ornament boxes for me.  Gotta love a man that’ll shop and carry at your favorite craft store…and I do!

Do this:

Buy shatterproof ornaments only.  On sale.  (Hey, my tutorial, my rules.)


Use a hack saw (or another favorite saw of your choice) to remove the ornament-hook-holder-part from each small ornament.


Same deal as last time, fire up the glue gun and apply the glue in a donut shape where the sawed-off part used to be.


Eyeball the ears (yup, just had to say that again) and, after waiting a few seconds for the glue to cool down a smidge, slap those ears on.


So, a teensy bit more difficult this time (what, with the sawing and all), but well worth the trouble.  Minty Mickey Mouse ornaments.  Made ‘em myself.

Saturday, November 29, 2014

Disney Crafts: Mickey Head Wreath

by Lisa Green

General Dis Pics 11.13 055

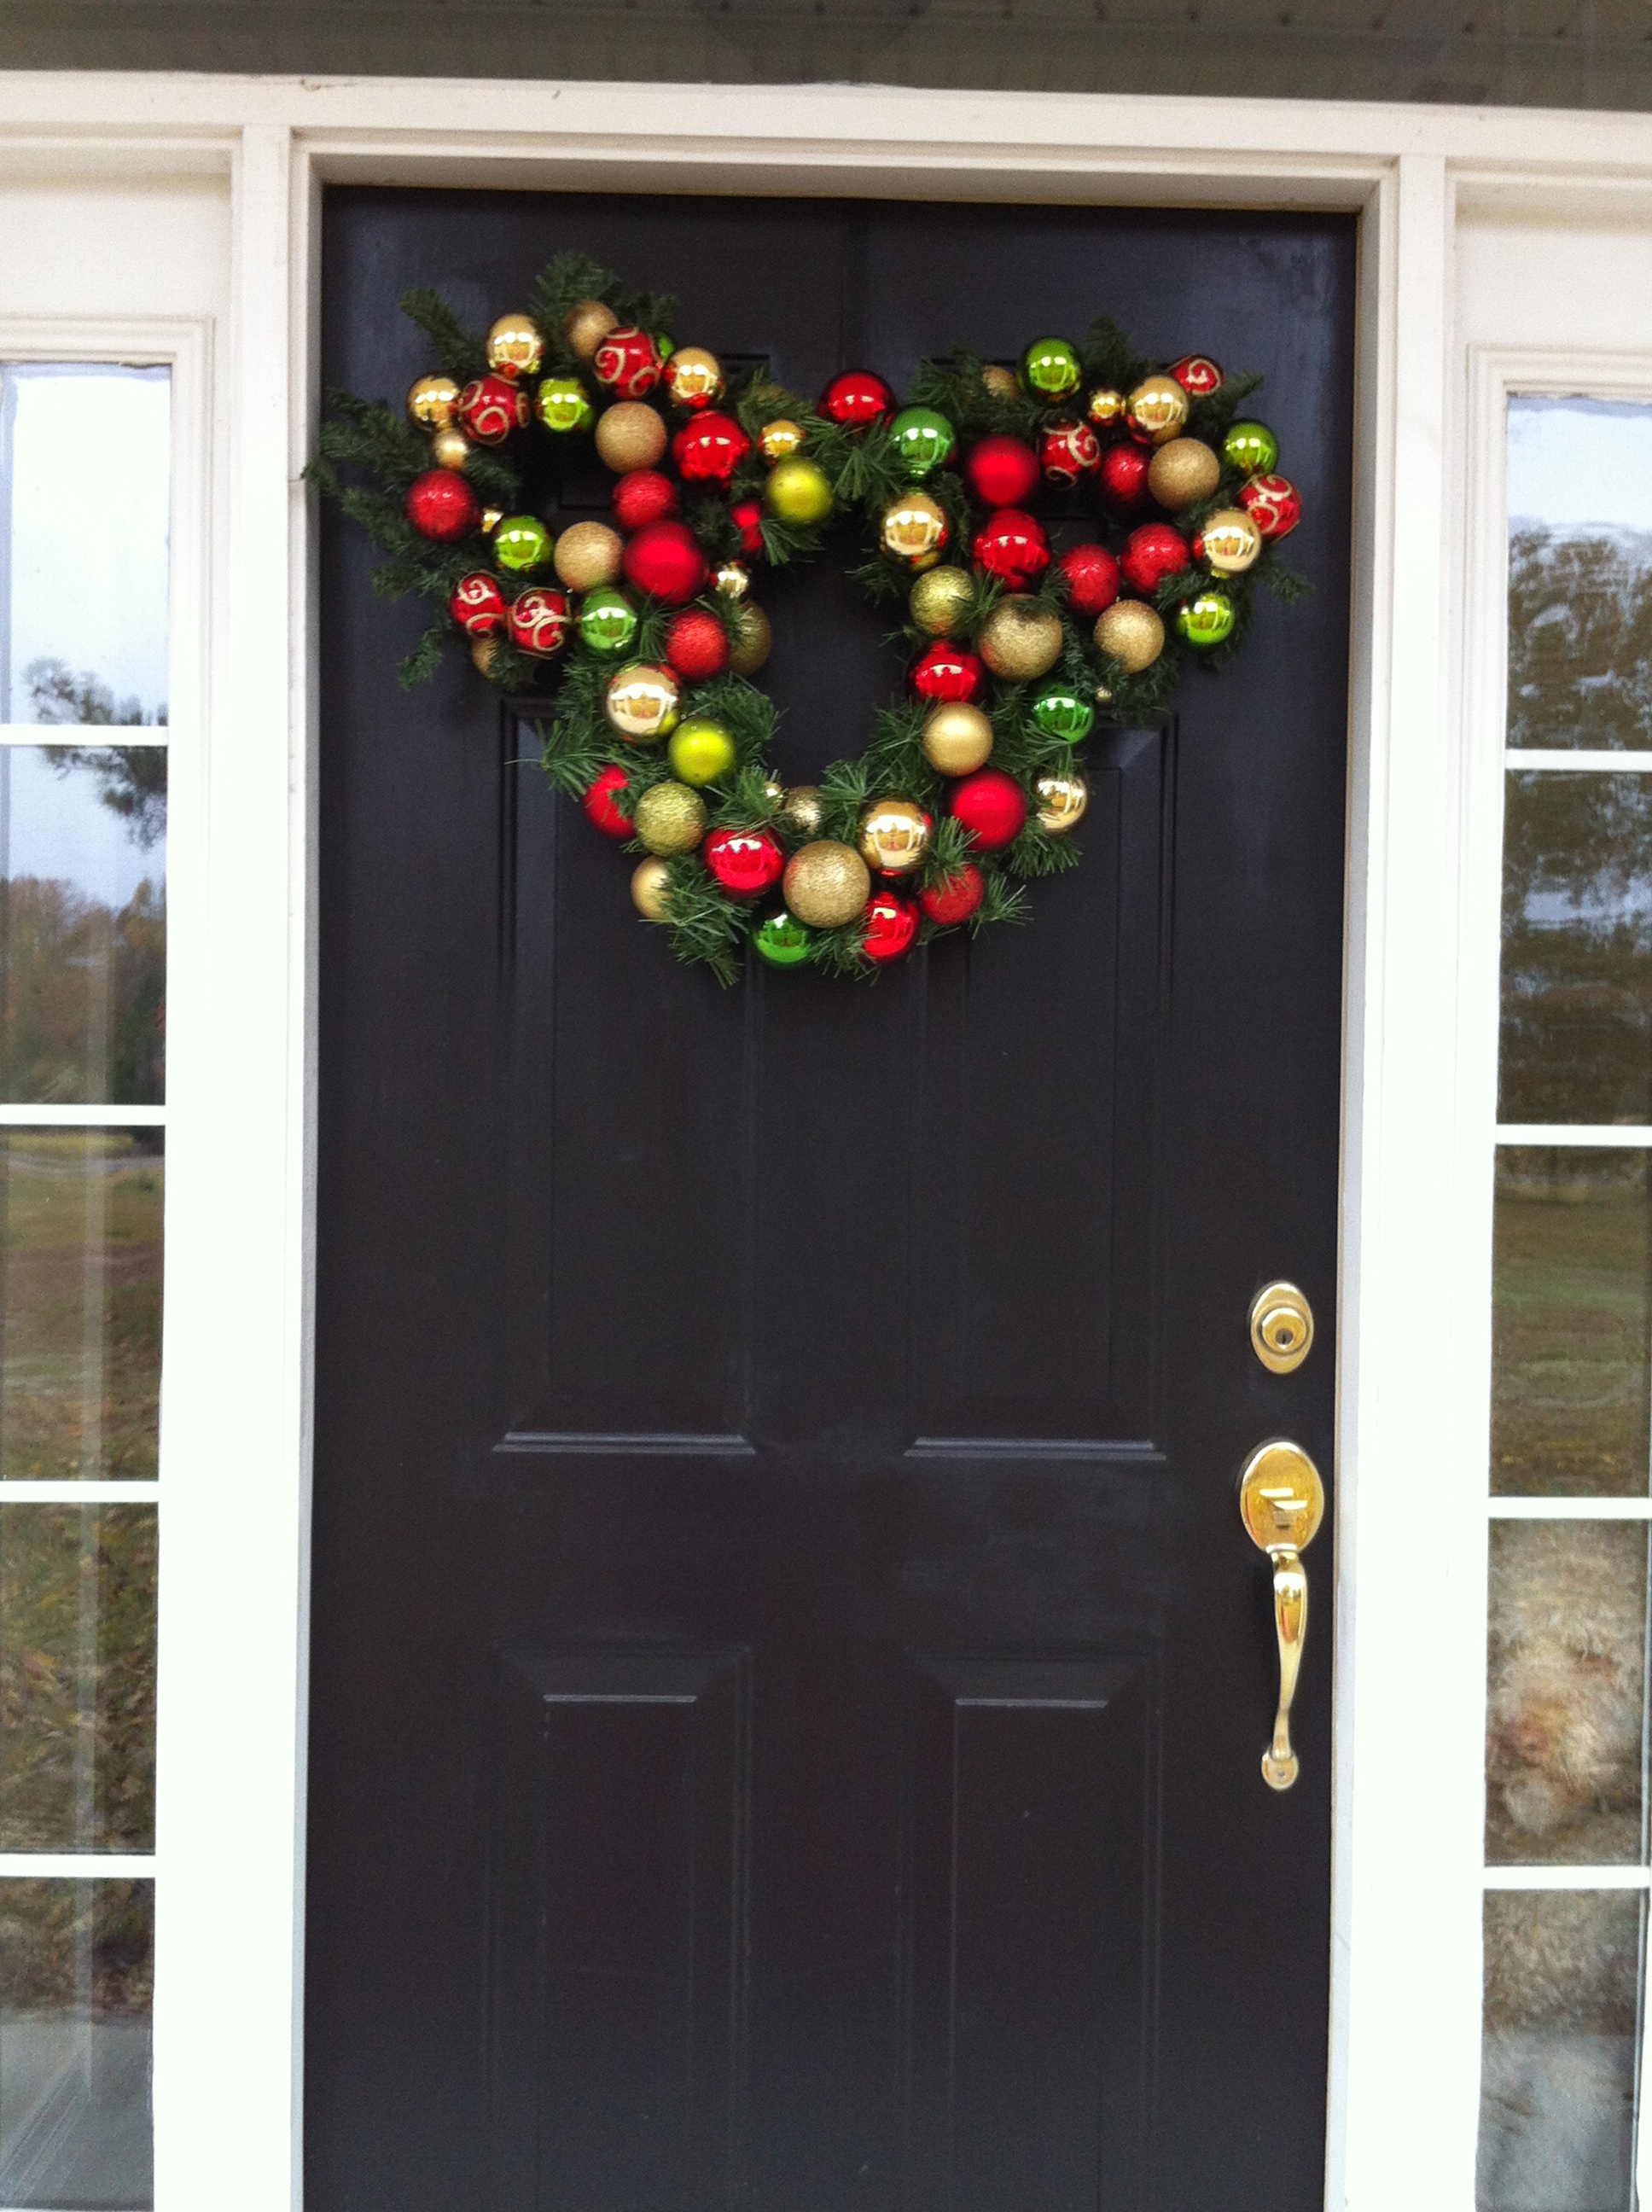
If you want to make one of these fun and festive wreaths for yourself, here are the deets:
What you need:  (if I had to guess, I’d say I spent about $35-$40)
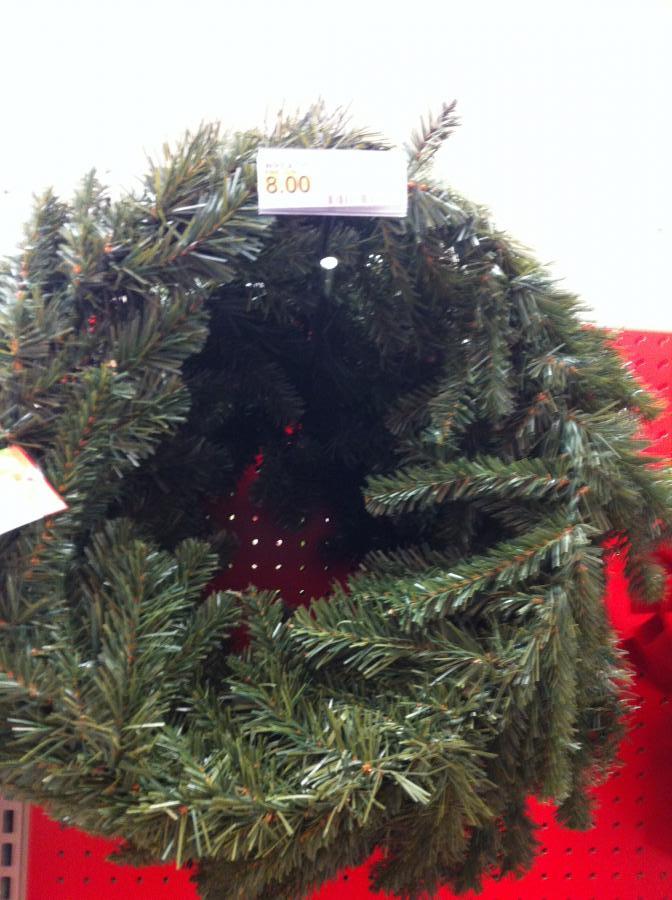
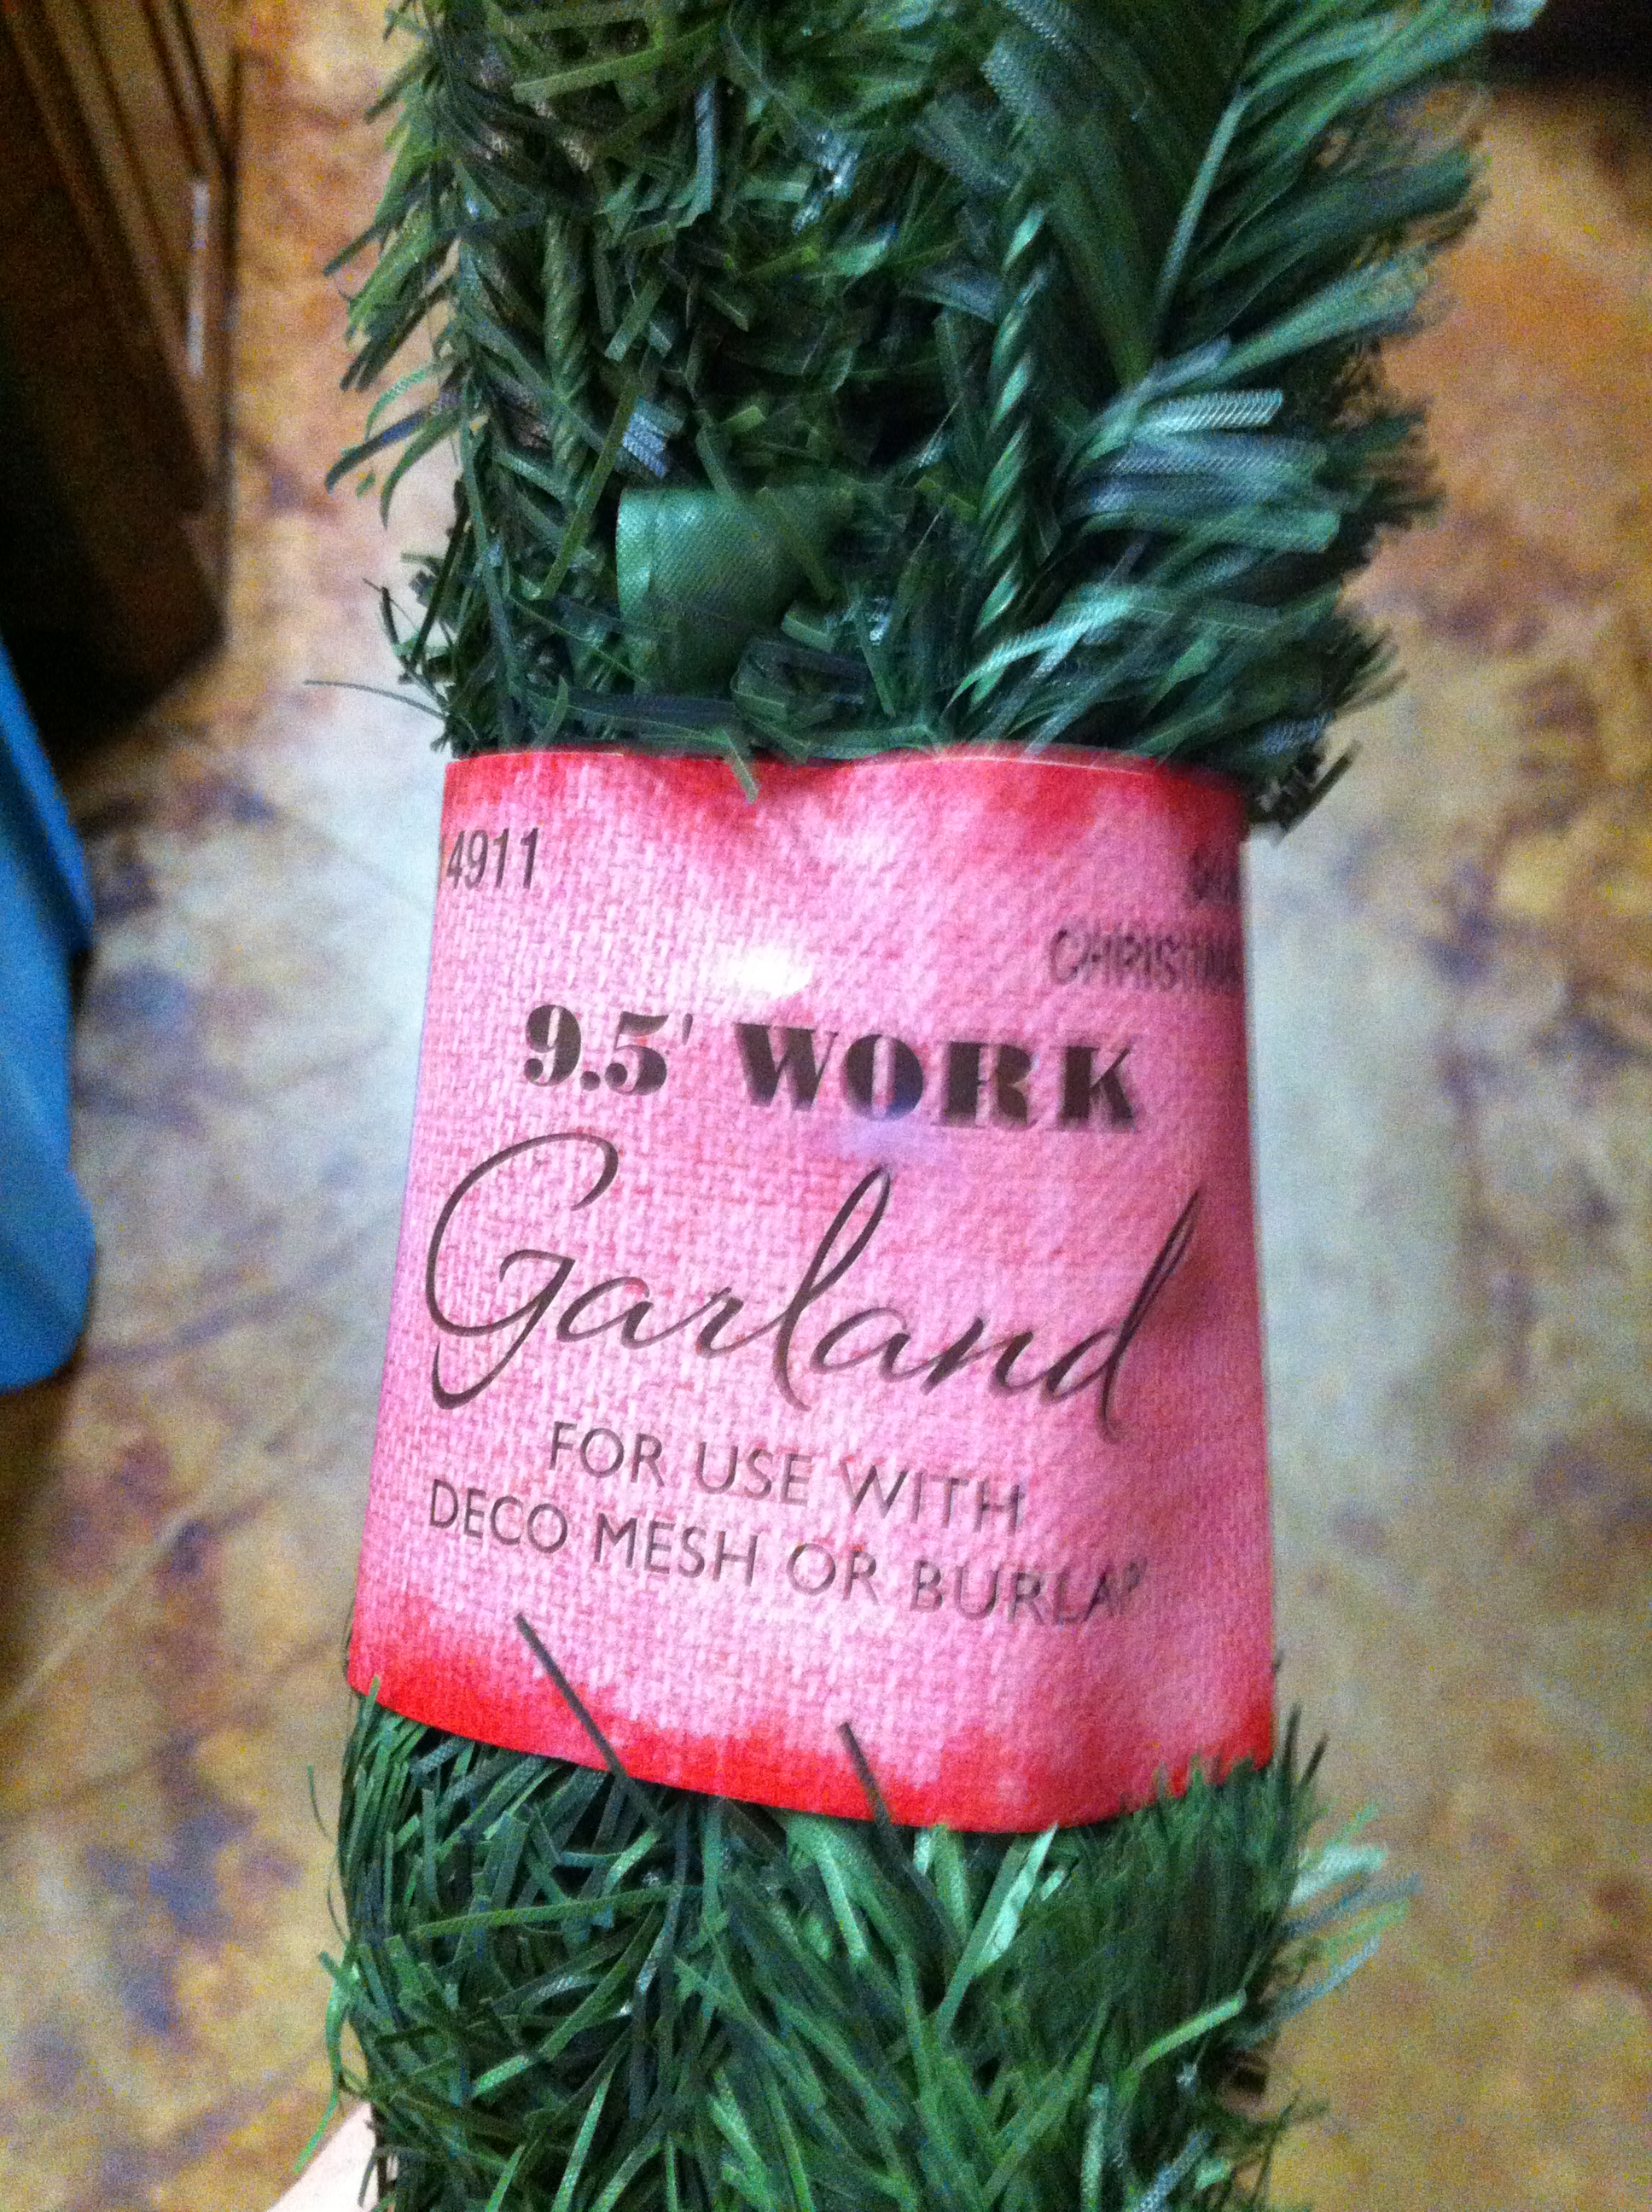
  • Wreaths and/or wire garland (one big circle, two smaller ones)
  • Two big cylinders of shatter-proof round ornaments – preferably two different sizes.
  • Craft/Floral wire – I just used what I had at home…a couple different kinds, in fact.
Let’s get started:
IMG_2258
  • One large wreath will be Mickey’s head – very little of the greenery will show, buy the cheapest one you can find and it’ll be great.   
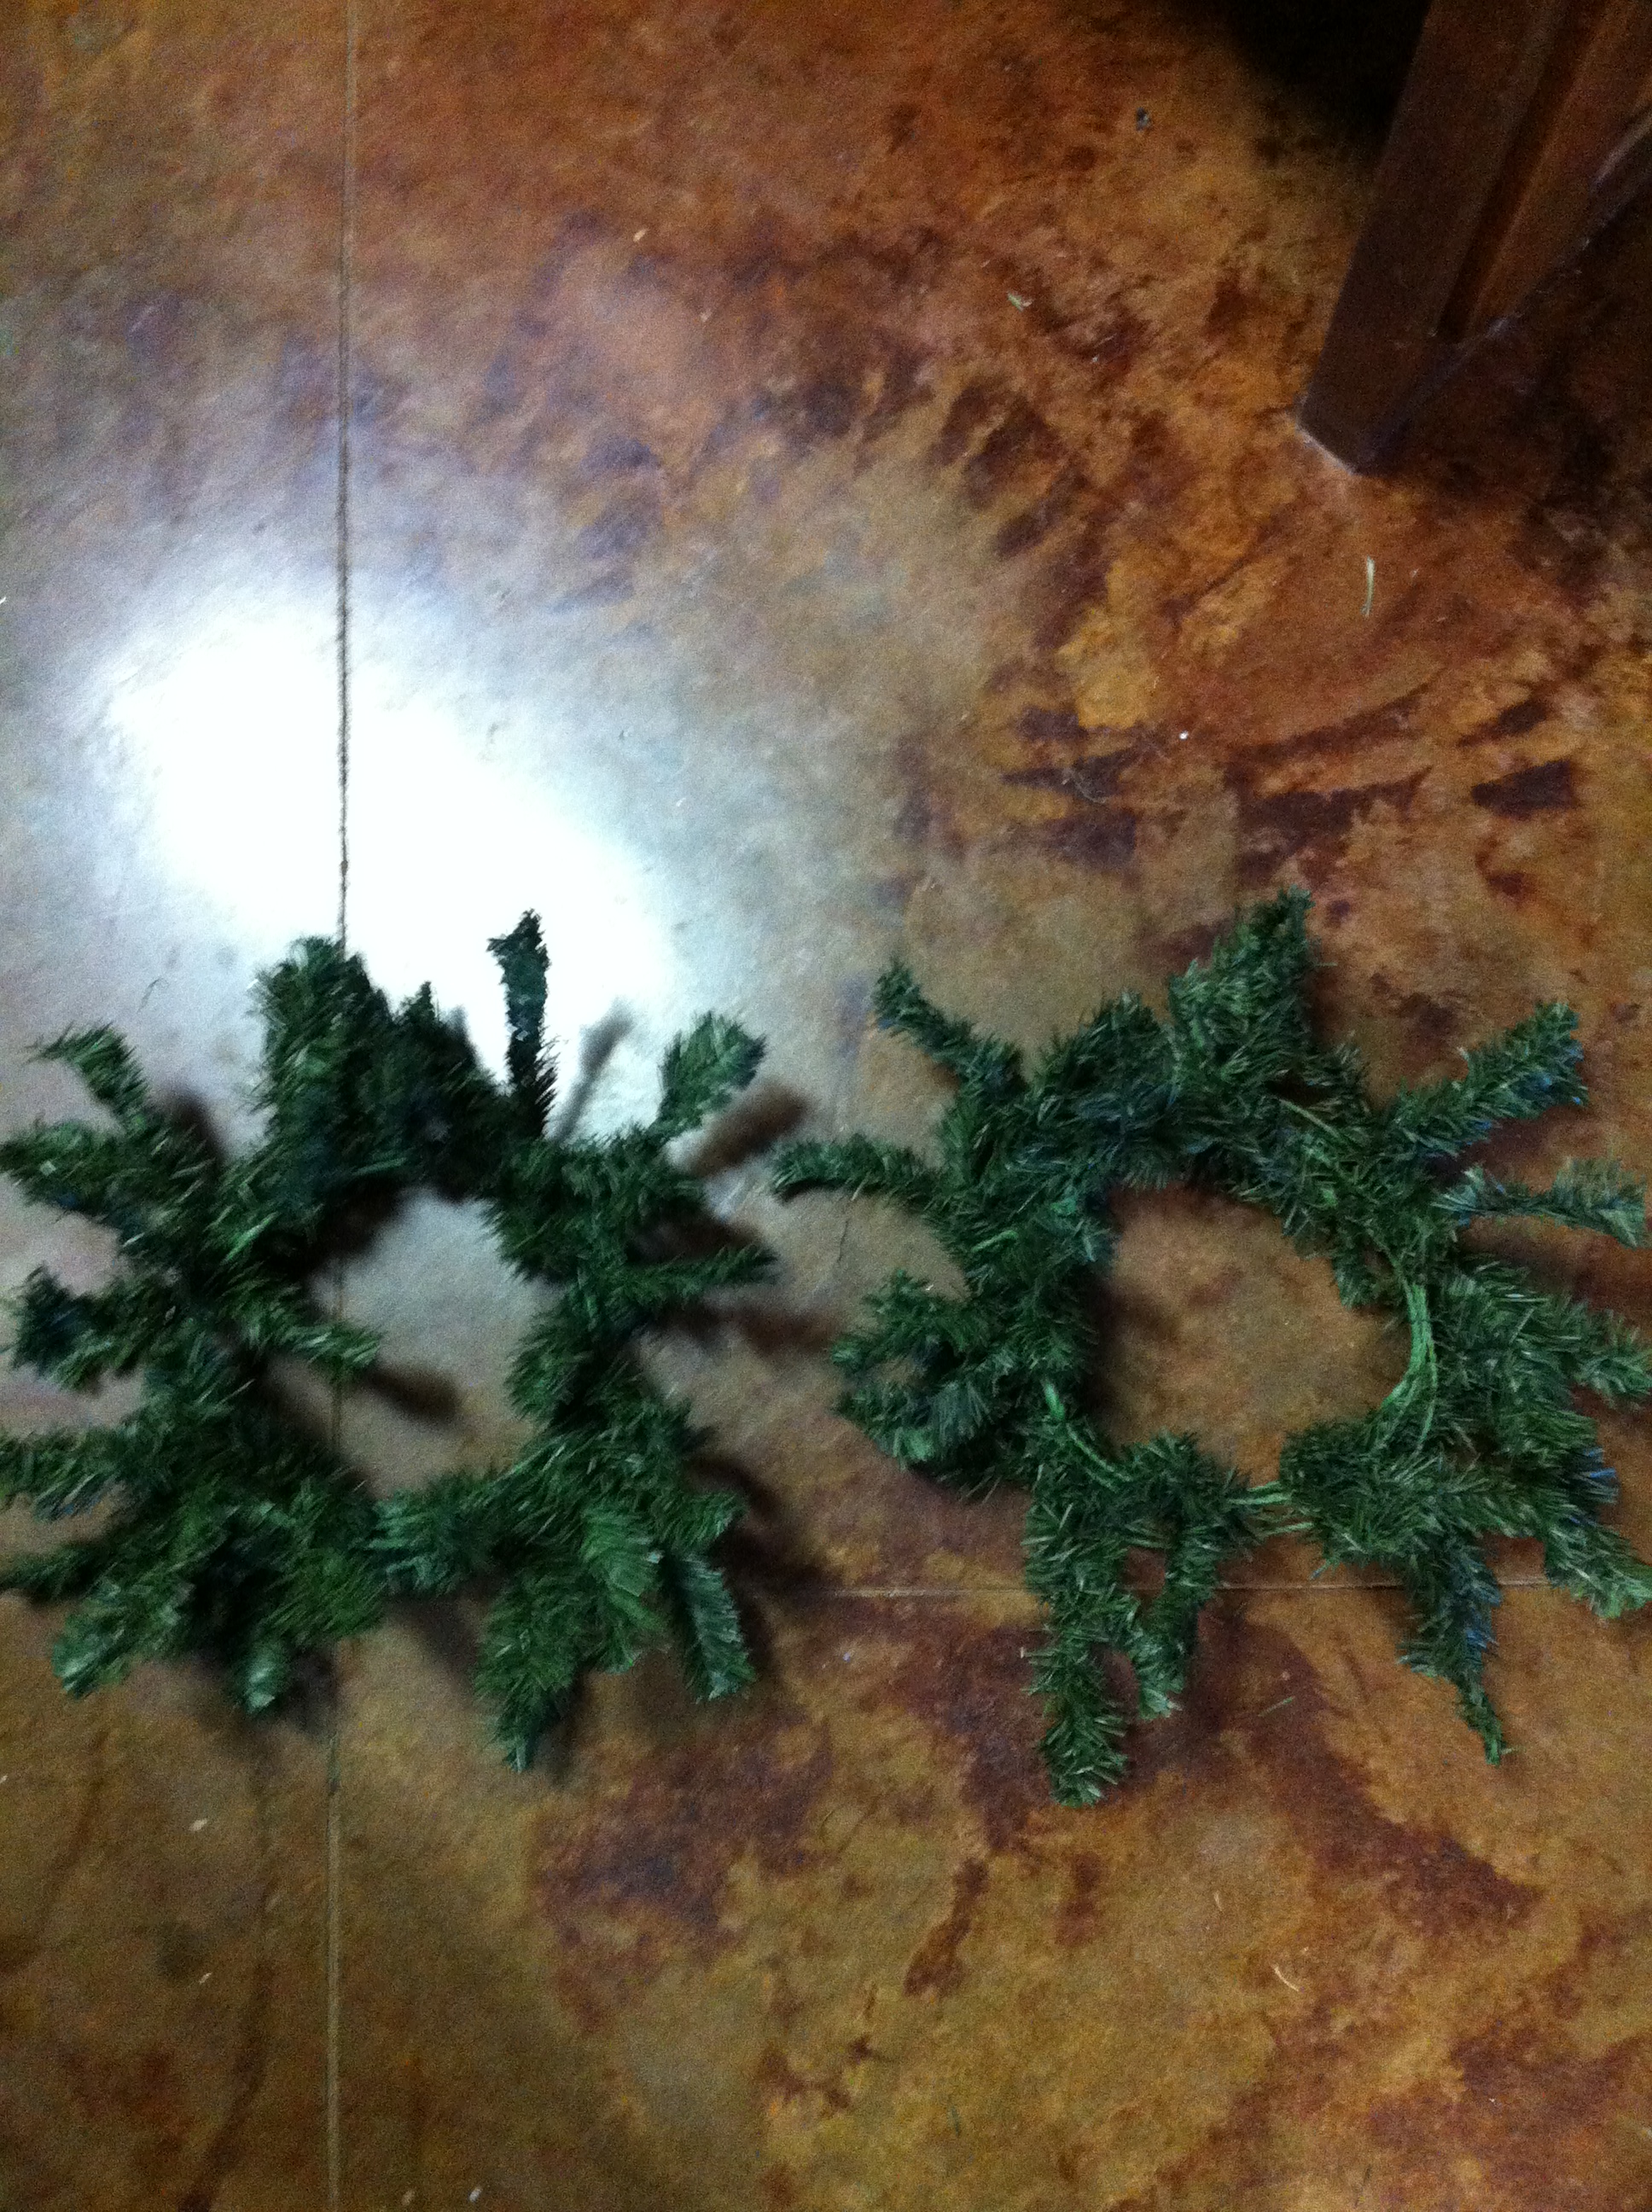
  • You’ve got a couple of options for the ears.  If you can find small wreaths, those would probably work.  I couldn’t find any at the 50% off Christmas decoration section at my favorite craft store (yes, you’re right, I bought a lot of stuff while that sale was going on!).  So I found these inexpensive wire garlands (on sale, two for $5) and shaped them into the size I wanted for the ears.  Initially, I tried to make them too big, so be careful. 
General Dis Pics 11.13 041

Here’s what they looked like once I figured out the size I liked best.

General Dis Pics 11.13 047
  • Now break out the floral/craft wire and wire the ears onto the head – as usual, no need to measure, just do what looks good to you.  They’ll be a little floppy, but will stabilize once the finished product is hanging on the door – mine’s been outside for several days now, and is doing just fine.
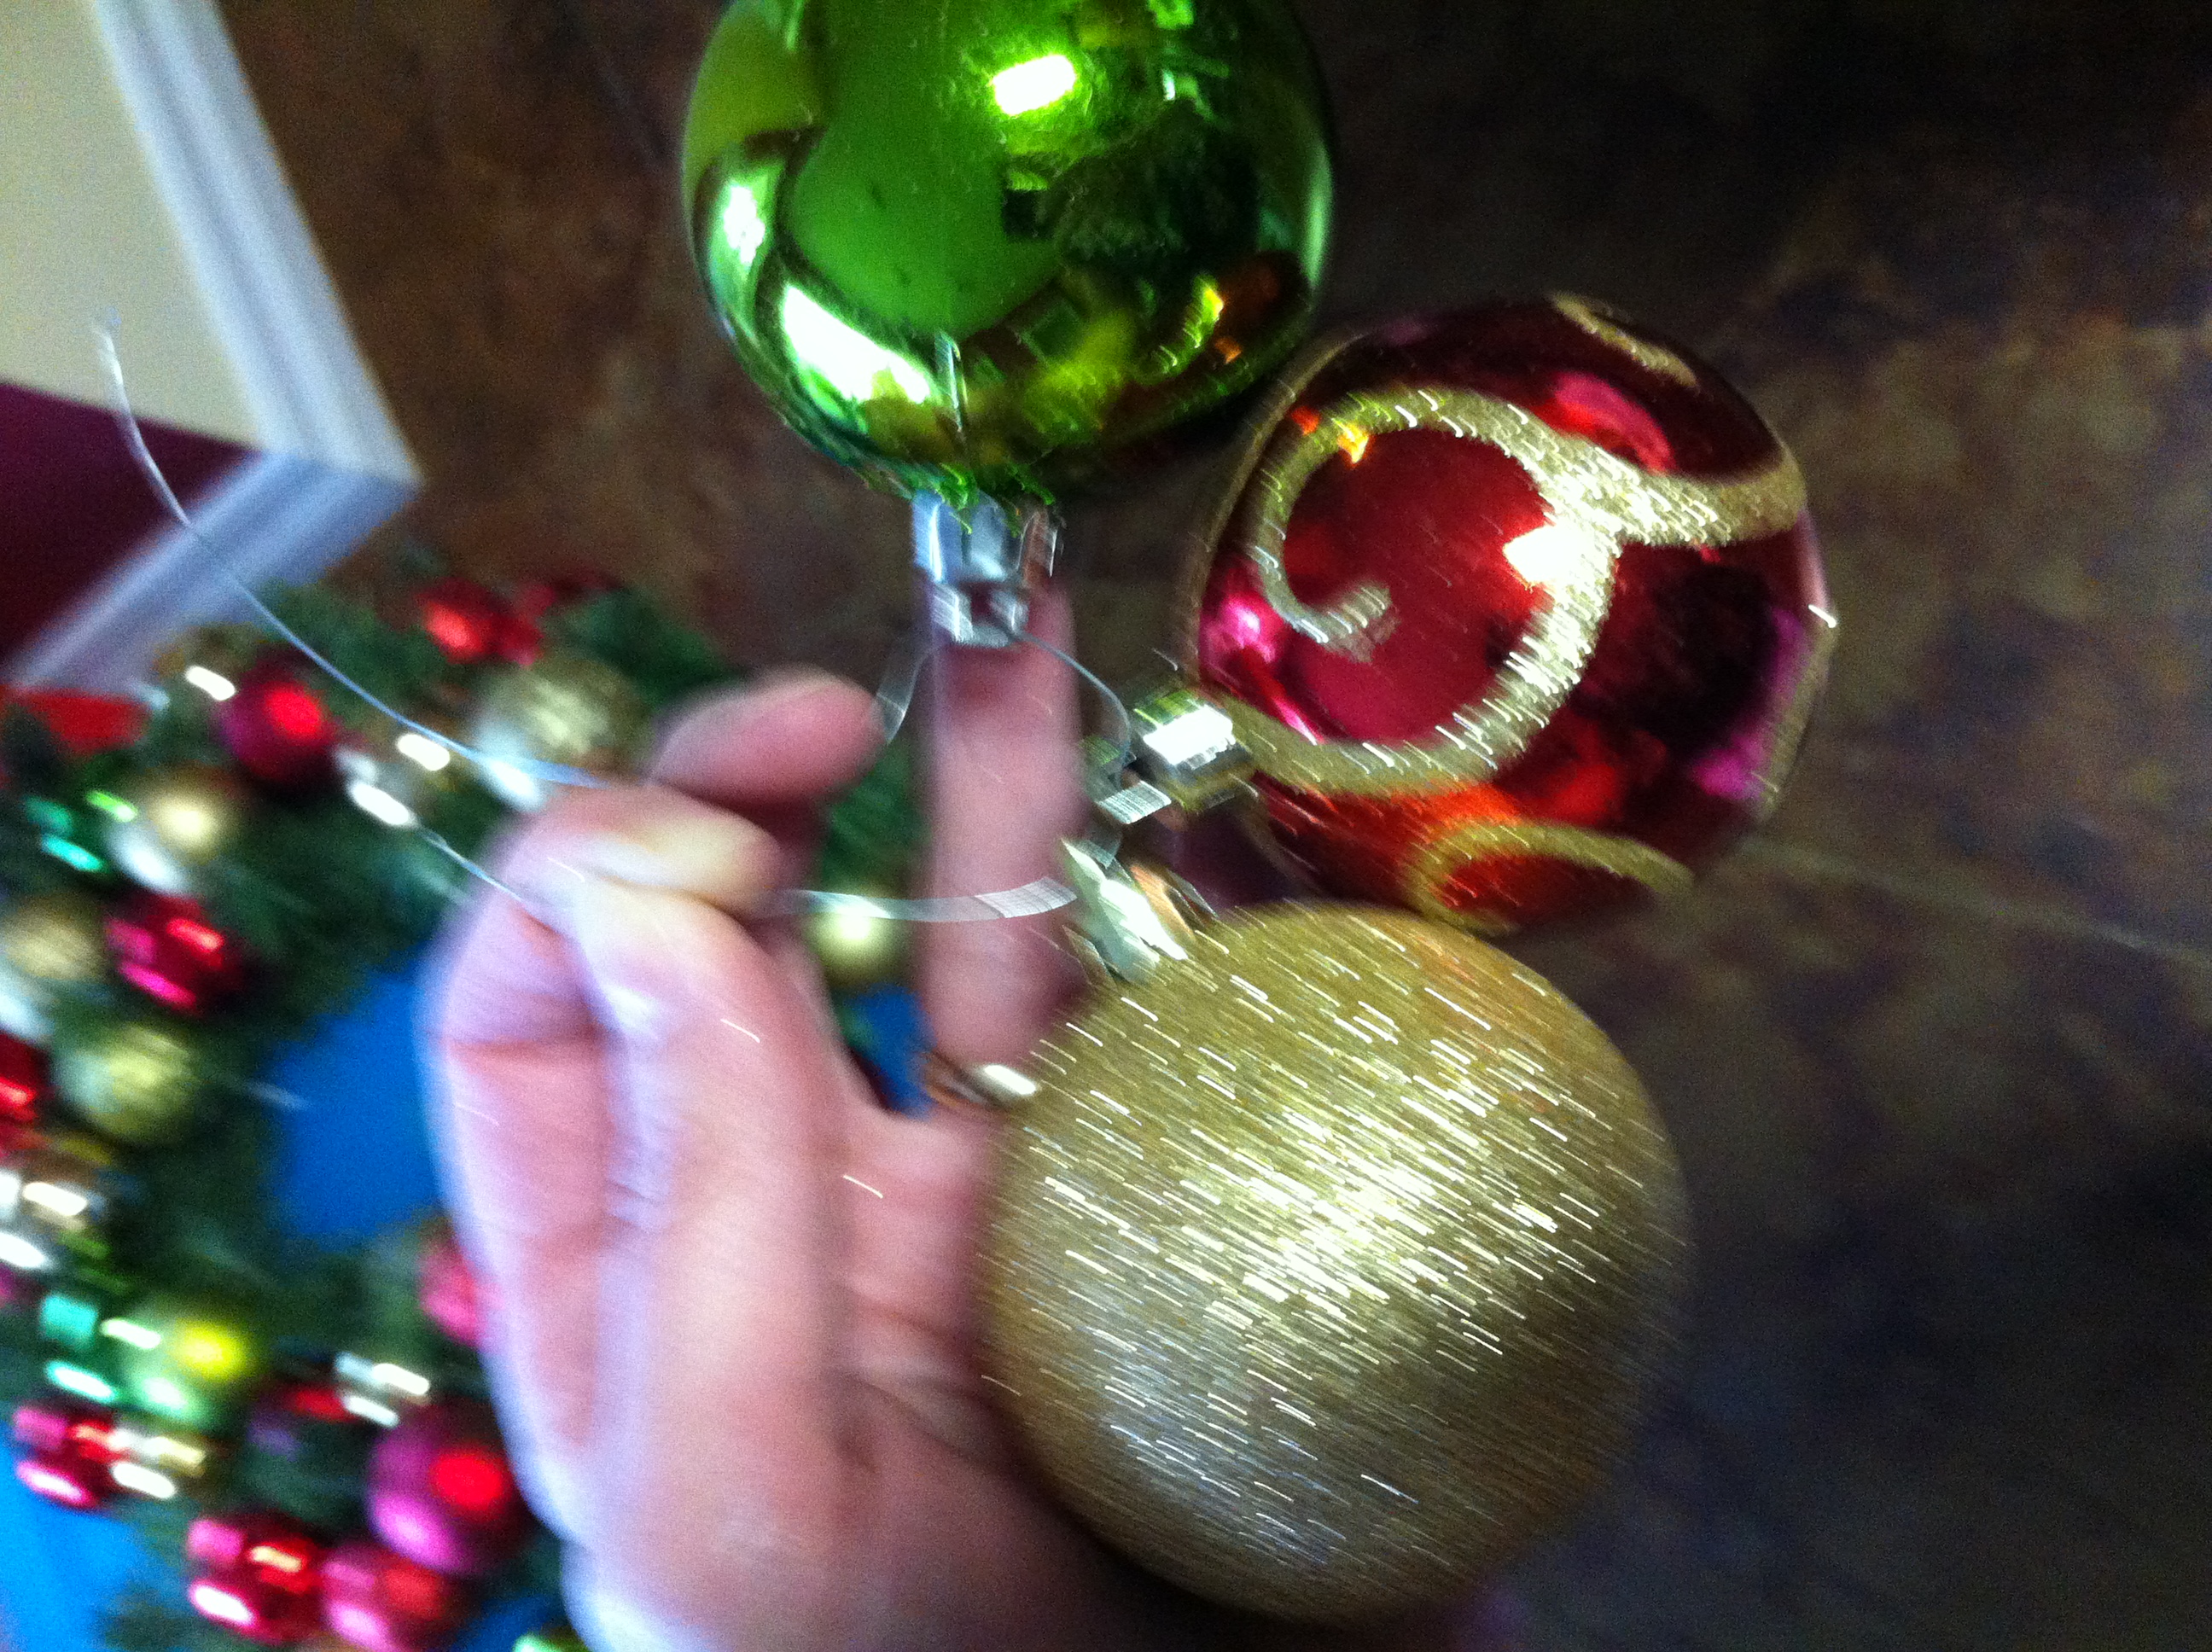
  • If you find two different sized ornament, use mostly big ones on the head and mostly smaller ones on the ears – to me that helped with the overall look/scale/proportion of the finished product.
General Dis Pics 11.13 068

IMG_2162
  • Wire the ornaments onto Mickey.  I did then entire head before starting on the ears.  Here’s the shortcut – you can put 2-3 ornaments on one piece of wire before attaching them.  Saves time!
  • Once you’re happy with the number of ornaments you’ve attached, that’s it!  Finished!  Totally awesome, delightfully Disney-fied door decor for your own Disney home. 

Tuesday, March 25, 2014

Creating Disney Fridge Magnets

How to create custom Disney Fridge Magnets.

By: Shendl

I received a Map of Walt Disney World from my Disney Vacation Planner and I have had it on my fridge held on with fridge magnets. It worked but I couldn’t see the other side of the map featuring the different park maps.


I got to thinking about how I could create my own Fridge Magnet using the maps I already had.
Here is the process that I went through to create the Map Magnets.

    •    I took my map to my local Copy Centre and had both sides color copied to an A3 size (the maps I had were slightly larger than A3, so I had them reduced to the size I wanted)


    •    Once they had trimmed them and I was happy with the copies, I had them laminated individually to make sure that they stay nice and neat and do not get damaged.

    •    A trip to the craft store was necessary to purchase the Magnetic Tape to allow my maps to attach to my fridge.

    •    I purchased a 2m x 1.75mm roll of magnetic tape (the one side has peel off tape to allow it to stick)

    •    I cut the tape to the sizes that I wanted, removed the peel off tape and stuck it to the back of my laminated maps. (TIP: make sure the magnet has stuck properly onto the laminated map, otherwise you will have your map on the floor and your magnets still stuck to the fridge- I speak from experience on this!!)


I am so happy with how they turned out.


I still have my original map so if the copies get old then I can have new ones made.  You can do this with anything you want to have on your fridge.
Park Maps (the ones you collect inside the parks)
Postcards (you could have a few photocopied together and then laminated)
I live in South Africa so I am not sure what the costs would be in the US Stores but I can give you an idea what it cost me in South African Rands. – the Total amount I paid was R100, which works out to about $10 for the copies and laminating and the magnet strips.
Some Tips to help you along your way:
    •    Go to a Reputable copy store to have this done, you don’t want to pay for their mistakes if they copy the maps incorrectly.
    •    Put enough Magnet on the back of the finished maps ( I would say at least a 20 – 30 mm piece for each corner)

I really hope that you enjoyed this project

Thanks to Disney Musings Blog for asking me to write the article. It was a lot of fun!

Author: Shendl Rewitzky (East London, South Africa)