Showing posts with label do it yourself. Show all posts

Saturday, December 12, 2015

Do It Yourself Disney Christmas Tree Topper

By: Lisa Green


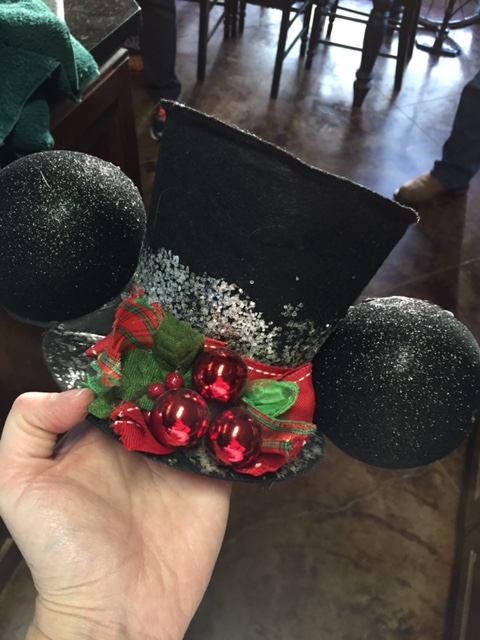
RM-Christmas-Mickey-Top-Hat-Tree-Topper 
 
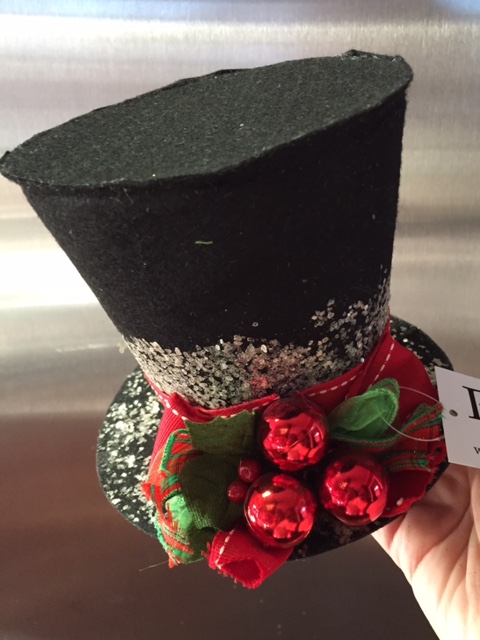
RM-Christmas-Top-Hat 

It’s been long time since I’ve worked on a Disney craft project.  This one was not even planned, but happened mostly by accident.  Raymond and I were out supporting our local merchants on Small Business Saturday and we happened to be in a fantastic home décor and accessory store that always has the most amazing Christmas decorations!  We were there for just a quick stop to pick up a couple of ornaments for gifts and grab some extra ribbon and deco mesh (you can never have too much deco mesh, right?).

As we were making our way to the checkout counter, I stopped dead in my tracks, having spotted something unexpected and adorable!  I spied a small black felt top hat, decorated festively for the holidays.  As usual, I immediately said what I was thinking, “Hey!  I could put ears on this!” and Raymond, in his usual way, replied, “You could.”  Enough chitchat.  New item added to the armfuls we were carrying, we made for the cash register.

By the time we got home, I had formulated a plan for that little top hat’s transformation into a Disney-themed tree topper.  All I needed was to make use of Raymond’s mad skills with power tools.  I handed him a large, sparkly, black shatter-proof ornament left over from the Halloween wreath project and told him to make me a couple of ears from it.  Because I love him, I did remember to yell, “Don’t forget protective eye wear!” as he headed outside to his shop.  I wish I could show and tell you exactly how Raymond managed to slice two perfect ears out of that one ornament, but I didn’t see what he did.  I will tell you it involved something called a die grinder, but I have no idea what that is or does.  If you decide to slice up a plastic ornament, I imagine a saw of some sort would also work.
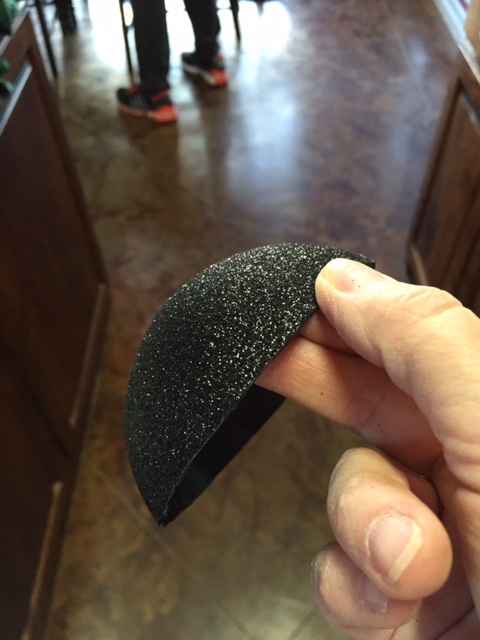
RM-Christmas-Ornament-Piece

Now, I knew that if I just glued those ears onto the hat, there would be a big gap between each ear, the hat, and the hat’s brim.  I was trying to figure out a way to fill that gap with some black sheet-foam that I had on hand, when Raymond solved the problem for me by cutting the foam into tear-drops that could be used to cover the back of each ear and fill in that gap at the same time – I do love that man!  So, I fired up my new glue gun, which gets really super hot in a hurry, and proceeded to glue the backs onto each ear, then glue the ears carefully onto the hat, making sure the corner part of the teardrop filled in the gap between ear, hat, and brim.  I only sustained one glue-burn (on my right pinky), which is actually good – the injury count where hot glue and I are concerned is normally much higher.

RM-Christmas-Top-Hat-Ears-Reverse

RM-Christmas-Top-Hat-Finished

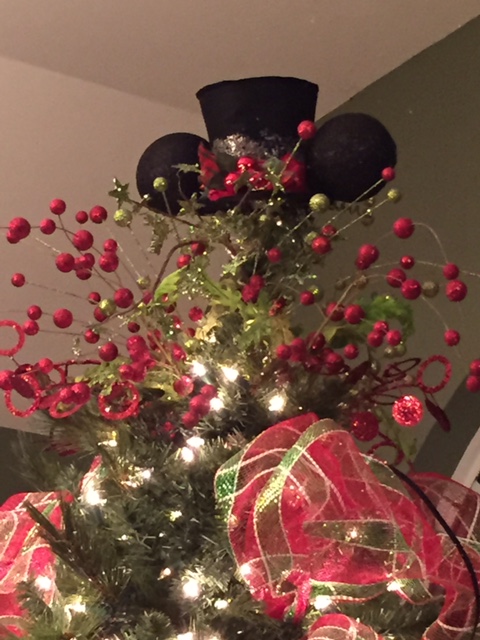
So, making the tree topper proved much easier than getting it in a good position at the top of the tree!  I ended up making a spiral wire around the top of the tree to perch the hat securely on, then I used my old tree topper (sprays wired together to mimic Wishes fireworks) to add some festive touches around the hat.  The moral of this story?  Don’t be afraid to try!  When inspiration strikes, go for it.  The hat was $12.99 and for the investment, Raymond’s cutting skills, and one hot glue burn, we got a pretty awesome new Disney decoration for our tree.

This article originally appeared on Lisa's Living a Disney Life Blog.

Lisa can be also be found on Facebook at https://www.facebook.com/LivingaDisLife and on Twitter at

And not only is Lisa one of my favorite bloggers, but she co-hosts The Disney Exchange Podcast along with me and David Hodges!

Saturday, October 10, 2015

Do It Yourself Disney Halloween Wreath

Mickey Ornament for Halloween Wreath 

By Lisa Green 
 
I haven’t done a Disney DIY project since last Christmas and even though I find myself busier this fall than I ever thought possible (where’s the free time my empty-nest status is supposed to afford?), I had an idea.  I love Halloween!  I like to dress up and I love cute and creepy decorations.  So, I mad a new wreath over the weekend.

Halloween Wreath Original Form

Maybe I should have called this post, “DIY Disney Halloween Wreath for the Lazy” or “Disney-inspired Halloween Door Décor for the Non-crafter” – basically, I made this wreath out of some things I had on hand and a couple of items I picked up at the local craft store (on sale, 40% off).  If you like it and want to reproduce it, here’s what you’ll need:
  • Pre-made Halloween wreath from the discount store of your choice OR a plain orange, black, white, or purple wreath and 3-4 coordinating wide ribbons in a variety of prints/fabrics.  My wreath came with sparkly candy corn, white ribbon with black polka dots, some orange and black plaid burlap-ish ribbon, and some sprays in orange, black, and white.  It also had these very cool giant pipe-cleaners sticking out here and there in metallic Halloween colors.
  • Halloween/seasonal sprays of your choice if your wreath is plain
  • Christmas ornaments in two different, complimentary colors (to go with your wreath).
  • Any banner or accessory you’d like to add – I added the orange, sparkly “Halloween” because it was also 40% off and ended up being about $3.
  • Hot glue gun & glue
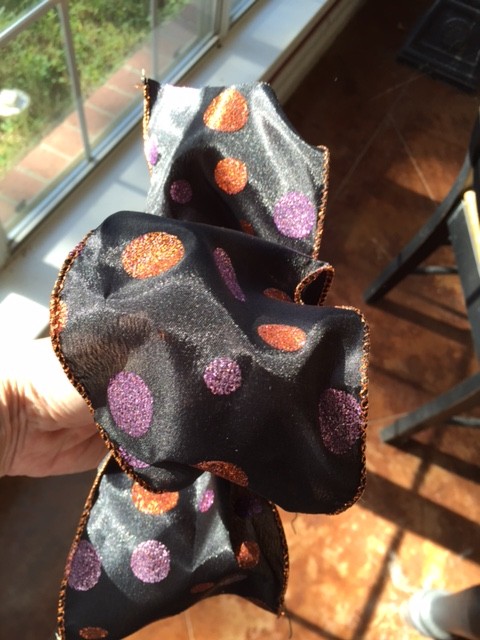
Halloween Ribbon Ready to Use 

I wanted to add purple to my wreath so I bought some wire-edged ribbon in black with orange and purple spots.  Instead of bows, I just made some simple loops and wired the ribbon onto the wreath in a few random places.  I made Mickey ornaments out of purple and black Christmas ornaments in two different sizes – just like I do for Christmas (see that project here) EXCEPT – I made sure the hanger was in the back so I could wire them onto the wreath and the hangers wouldn’t show.
 
I’m not overly thrilled with the purple Mickeys because the ornament sizes weren’t as suitable as the black ones were (the head is too small or the ears are too big – however you look at it), but overall, for slapping together a few inexpensive items, I’m pretty happy with my new Halloween-themed front door decoration.


This article was originally posted on Lisa's Living a Disney Life Blog.
Lisa can be found on Facebook at https://www.facebook.com/LivingaDisLife and on Twitter at

Please be sure to check out Lisa along with me and David Hodges on The Disney Exchange Podcast!   


Thursday, February 5, 2015

I'm an Artist!

by Gaylin

The title of this post is a fib, I am not an artist. I can draw a great stick man and my only doodle that I can draw is Woodstock from Charlie Brown and it took a lot of practice to be able to do that.

At Hollywood Studios, everyone can be an artist. At the Magic of Disney Animation, throughout the day, you can take a drawing class. You never know who you will draw but if I can take the class and get a drawing out of it, anyone can!

A few vacations ago when it was still Disney/MGM Studios, I took the class twice and managed to get the drawings home without crushing them. Once I was home I decided I wanted to save them and make them something useful. I went to a copier store and had them laminated! Now I have two awesome placemats with my own art on them!

You can barely see the laminated edges but I assure you, this works really well. As you can see from this, they do not choose easy characters. Goofy with his hat and facial expression and Minnie with her bow and great eyelashes. I admit, I impressed myself.

If you take this class, remember to sign and date your drawing that way you can remember what year and trip you were on when you did this. These were done in October 2007.


If you want to try to draw a character at home, Disney does have a number of videos online that you can follow along with.

Saturday, August 9, 2014

Disney Do It Yourself: Walt Disney World Rain Poncho Project

by Gaylin

I always bring an inexpensive rain poncho when I go to Walt Disney World and on my trip in 2007, I brought a cheap poncho that got all torn up just using it once. The weather meant buying a Disney rain poncho and when I went to put it on, the head hole was very small. I ended up having to tear it a bit to get it on. I must have been in a hurry because it didn't occur to me that I could have exchanged it for a new one.

Even though it was torn I brought it home with me because I had a DIY idea.

When I got home, I hit the local art store and bought canvas frame stretcher bars, 2 at 18" and 2 at 24". Brought them home, fitted them together and squared them up. I cut out as much of the back of the poncho as I could, I knew I needed extra plastic on the outside edges to fold them up for stapling because I wanted to frame it!

As a DIY project this was pretty easy. The frame bars are inexpensive, I used scissors, I own a staple gun and I had some picture wire to attach to it for hanging. The finished project was pretty nice!


Here is the back, since no one sees the back (except all of you) I wasn't worried about keeping my stapling tidy, I wanted the Mickey to be in the centre – that was the important part! I did roll and fold the plastic a couple times to make sure that when I stapled it, the plastic wouldn't tear. This hangs in my bathroom and I admit, I love it.


Saturday, August 2, 2014

Disney Do It Yourself Pillow

by Gaylin 

On a trip to Walt Disney World back in 1999, I was in a kitchen shop and had a great idea. I bought a lovely dinner napkin, at 20" square and really well made, I had a great idea.

Make a pillow!

I got home and hit a fabric store, bought velvet for the back, edge cord, a foam insert and a zipper and voila, a lovely pillow. I loved this napkin, I looked through the whole pile of napkins to make sure I had a whole tigger on the napkin.


When I went again in 2005 (okay, there were a couple trips in between), I found these napkins and even though they don't match anything in my apartment . . . I loved the colours and couldn't resist them. Back at home and a trip to the fabric store and a bit more time at the sewing machine and I have this beauty!


Have you ever brought something home from Disney that you know you will repurpose into home decor?